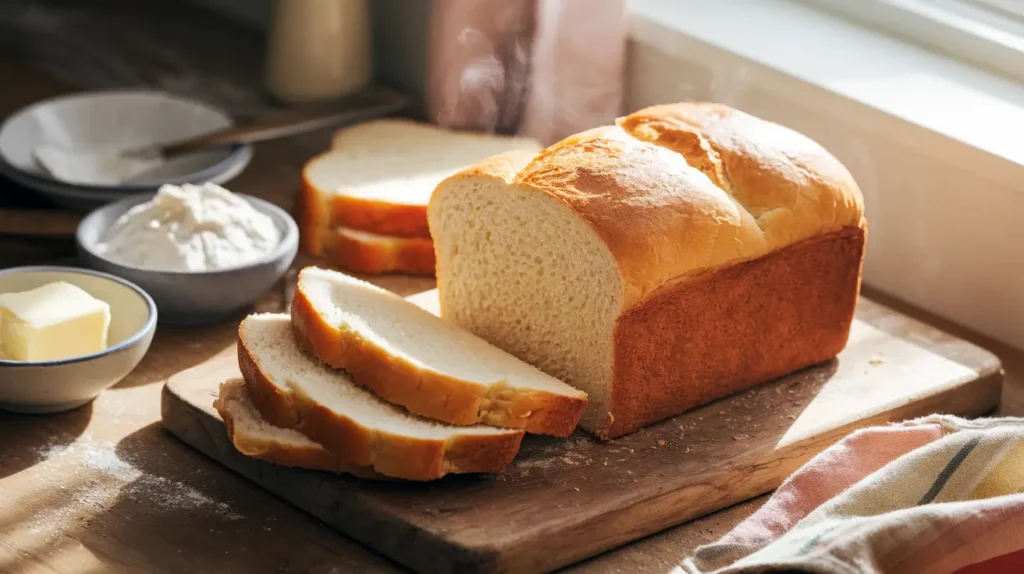
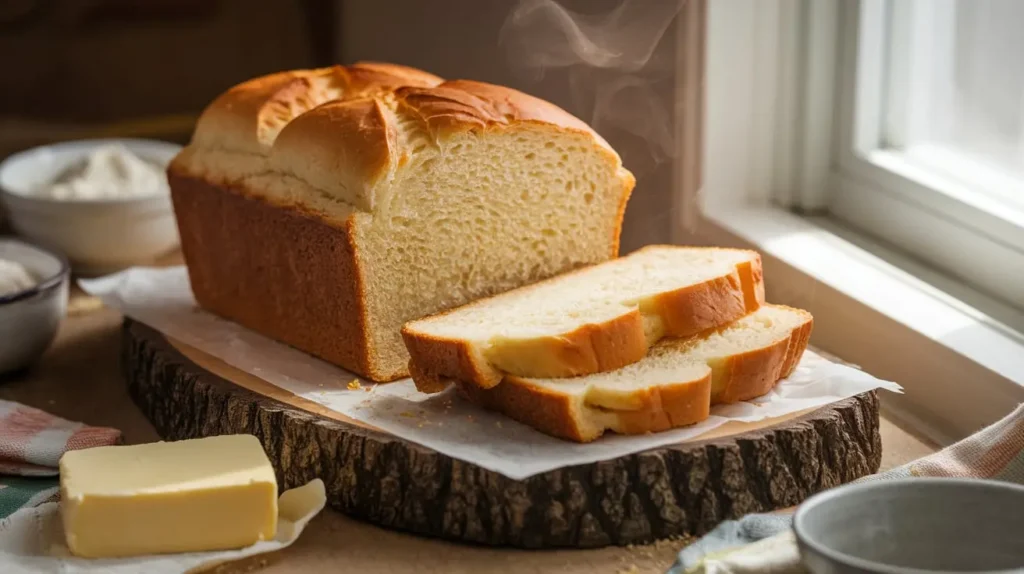
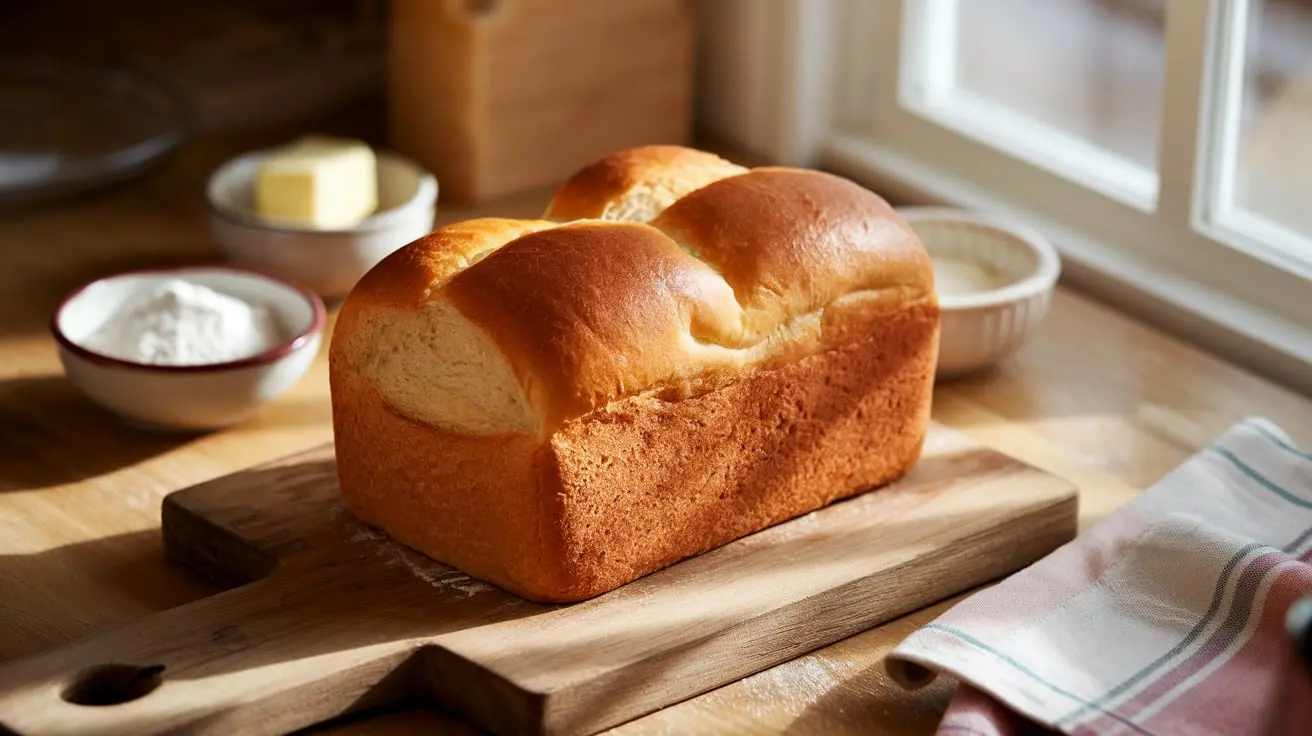
Baking bread at home isn’t just about the end result—it’s about the journey, especially when you have your family by your side. In my kitchen, sandwich bread has become our family’s little adventure. My kids love to help mix and knead, giggling as they dust each other (and the entire kitchen) with flour, while my husband eagerly waits to be the first to taste a fresh, warm slice. These are the moments that turn an ordinary day into something special. Let me share with you the simple tips that make our bread perfect every time—soft, sturdy, and full of love.
Table of Contents
The Ultimate Guide to Making Easy Homemade Sandwich Bread
Ingredients You Need for Perfect Homemade Sandwich Bread
Make sure to have everything ready before you start. You want your bread-making experience to be smooth and hassle-free. Below, you’ll find a simple table with each ingredient you need, the exact amounts, and why they’re essential for achieving that perfect loaf.
| Ingredient | Amount | Purpose |
| All-purpose flour | 4 cups | Provides the bread’s structure, giving it body and chewiness |
| Active dry yeast | 1 packet | A leavening agent helps the bread expand and develop a fluffy, airy texture. |
| Sugar | 2 tbsp | Feeds the yeast, enhances the flavor, and gives a nice golden color to the crust |
| Salt | 1 tsp | Balances flavors and controls yeast activity |
| Warm water | 1 1/4 cups | Hydrates the dough, dissolves yeast, and helps create a perfect crumb |
| Butter (softened) | 3 tbsp | Adds moisture, tenderness, and flavor |

Key Points: Every ingredient plays an important role. Flour provides the structure, yeast makes it rise, and butter helps keep it soft. Understanding what each does can help you avoid common issues when baking.
Step-by-Step Instructions for Easy Homemade Sandwich Bread
Step 1: Prepare the Yeast Mixture
Begin by mixing warm water, sugar, and yeast together in a bowl. The water should be warm to the touch, about 100-110°F—too hot and you risk killing the yeast. Allow the mixture to rest for 5-10 minutes, or until it turns foamy. This step ensures that the yeast is activated and ready to make your bread rise.
Step 2: Mixing the Dough
Next, add your flour, salt, and softened butter into a separate mixing bowl. Slowly incorporate the yeast mixture and mix until everything is well combined. You’ll notice that the dough starts coming together and pulling away from the sides of the bowl.
Step 3: Kneading the Dough
Now comes one of the most important steps—kneading. You can knead by hand for about 8-10 minutes or use a stand mixer with a dough hook attachment for around 5 minutes. Proper kneading helps to develop gluten, which gives the bread its signature soft, yet chewy texture.
Key Tip: You’ll know that your dough is ready when it’s smooth and elastic. If it’s sticky, add a little more flour, but be careful not to add too much—over-flouring can make the bread dense.
Step 4: First Rise
Place your kneaded dough in a greased bowl, turning it to coat all sides. Cover it with a clean kitchen towel or plastic wrap and let it rise in a warm place for 1-2 hours, or until it has doubled in size. The warmth helps the yeast do its work effectively.
Step 5: Shaping and Second Rise
Once your dough has risen, punch it down gently to release any air bubbles. Form the dough into a loaf and set it in a greased bread pan. Let it rise again for another 30-45 minutes until it crowns above the pan. This second rise is crucial for a fluffy, light texture.
Step 6: Baking the Bread
Preheat your oven to 350°F (175°C). Bake the bread for 30-35 minutes, or until it turns a lovely golden brown. The bread should sound hollow when you tap it lightly on the top—this means it’s fully baked.
Key Tip: If you want to make sure it’s done, use a food thermometer. The internal temperature should be around 190°F for a perfect bake.
Tips for Achieving the Perfect Texture in Homemade Sandwich Bread
- Kneading Is Key: Proper kneading is the foundation of a soft, well-risen loaf. It helps gluten develop, which gives bread its desired texture.
- Control Your Rise: Letting the dough rise properly (but not too much) is crucial. Dough that over-proofs may collapse during baking, leading to a dense loaf.
- Use a Thermometer: For reliable results, use a food thermometer to ensure that the internal temperature reaches 190°F.
- Humidity Tip: If you’re baking in a dry climate, place a shallow pan of water in the oven while baking to keep your bread from drying out.
Troubleshooting Common Problems with Homemade Sandwich Bread
Even with a solid plan, things sometimes go awry. Let’s cover a few common problems and how you can fix them.
Why Is My Bread Dense?
- Not Enough Kneading: If the dough hasn’t been kneaded enough, gluten development won’t be sufficient. Knead until the dough is smooth and stretchy.
- Old Yeast: Yeast loses its potency over time, leading to bread that fails to rise. Always test your yeast in warm water before using it.
Crust Too Hard?
- Too Much Flour: Adding too much flour during kneading can lead to a thick crust. Stick to the recipe quantities, and add flour sparingly if needed.
Bread Doesn’t Rise
- Water Temperature Issues: If your water is too hot or too cold, the yeast may not activate properly. Aim for water that’s warm but not scorching—between 100-110°F is ideal.
- Yeast Health: Make sure your yeast is fresh and active. Expired yeast can prevent a proper rise.
Creative Additions for Your Homemade Sandwich Bread

- Add Seeds: Try sprinkling some sesame or sunflower seeds on top before baking for extra crunch and nutrition.
- Sweeten It Up: You can add honey, cinnamon, or a bit of brown sugar for a sweeter bread perfect for breakfast toast.
- Extra Soft Texture: Want a softer loaf? Add a tablespoon of powdered milk or use milk instead of water to enrich the dough.
Storing and Freezing Homemade Sandwich Bread
- Storage Tips: To keep your bread fresh, store it in a breadbox or in a sealed container at room temperature. That way, it will remain soft and tasty for 3 to 4 days.
- Freezing: If you’re planning to store it longer, slice your loaf and freeze it. This makes it easier to grab exactly what you need without defrosting the entire loaf. Securely wrap it in plastic wrap first, then transfer it to a freezer-safe bag.
FAQ About Homemade Sandwich Bread
Can I Use Whole Wheat Flour Instead of All-Purpose Flour?
Yes, you can substitute up to 50% of the all-purpose flour with whole wheat flour for a denser, more nutritious loaf. Keep in mind, though, that 100% whole wheat can make your bread significantly heavier.
How Can I Make My Bread Softer?
Adding a little more butter or replacing the water with milk can make your bread softer and give it a richer taste. You could also try adding a tablespoon of oil to achieve a tender crumb.
How Can I Tell When My Bread Is Fully Baked?
The bread should sound hollow when tapped, but the most reliable method is using an internal thermometer. It should read around 190°F when the bread is fully cooked.
Conclusion: Enjoy Your Perfect Homemade Sandwich Bread
There’s nothing quite like the satisfaction of baking your own sandwich bread. Not only do you get to control the ingredients and enjoy that unbeatable freshness, but the process itself is comforting—a chance to slow down and savor the art of cooking. With these tips and tricks, you’ll be making bread that your family will love, time and time again. Whether it’s a breakfast toast or a lunchtime sandwich, there’s a special kind of joy that comes from bread made with your own hands.
Call to Action
Want more delicious bread recipes and tips? Subscribe to our newsletter today and join our community of home bakers. Don’t forget to share your bread-making stories in the comments—we’d love to hear about your journey!

